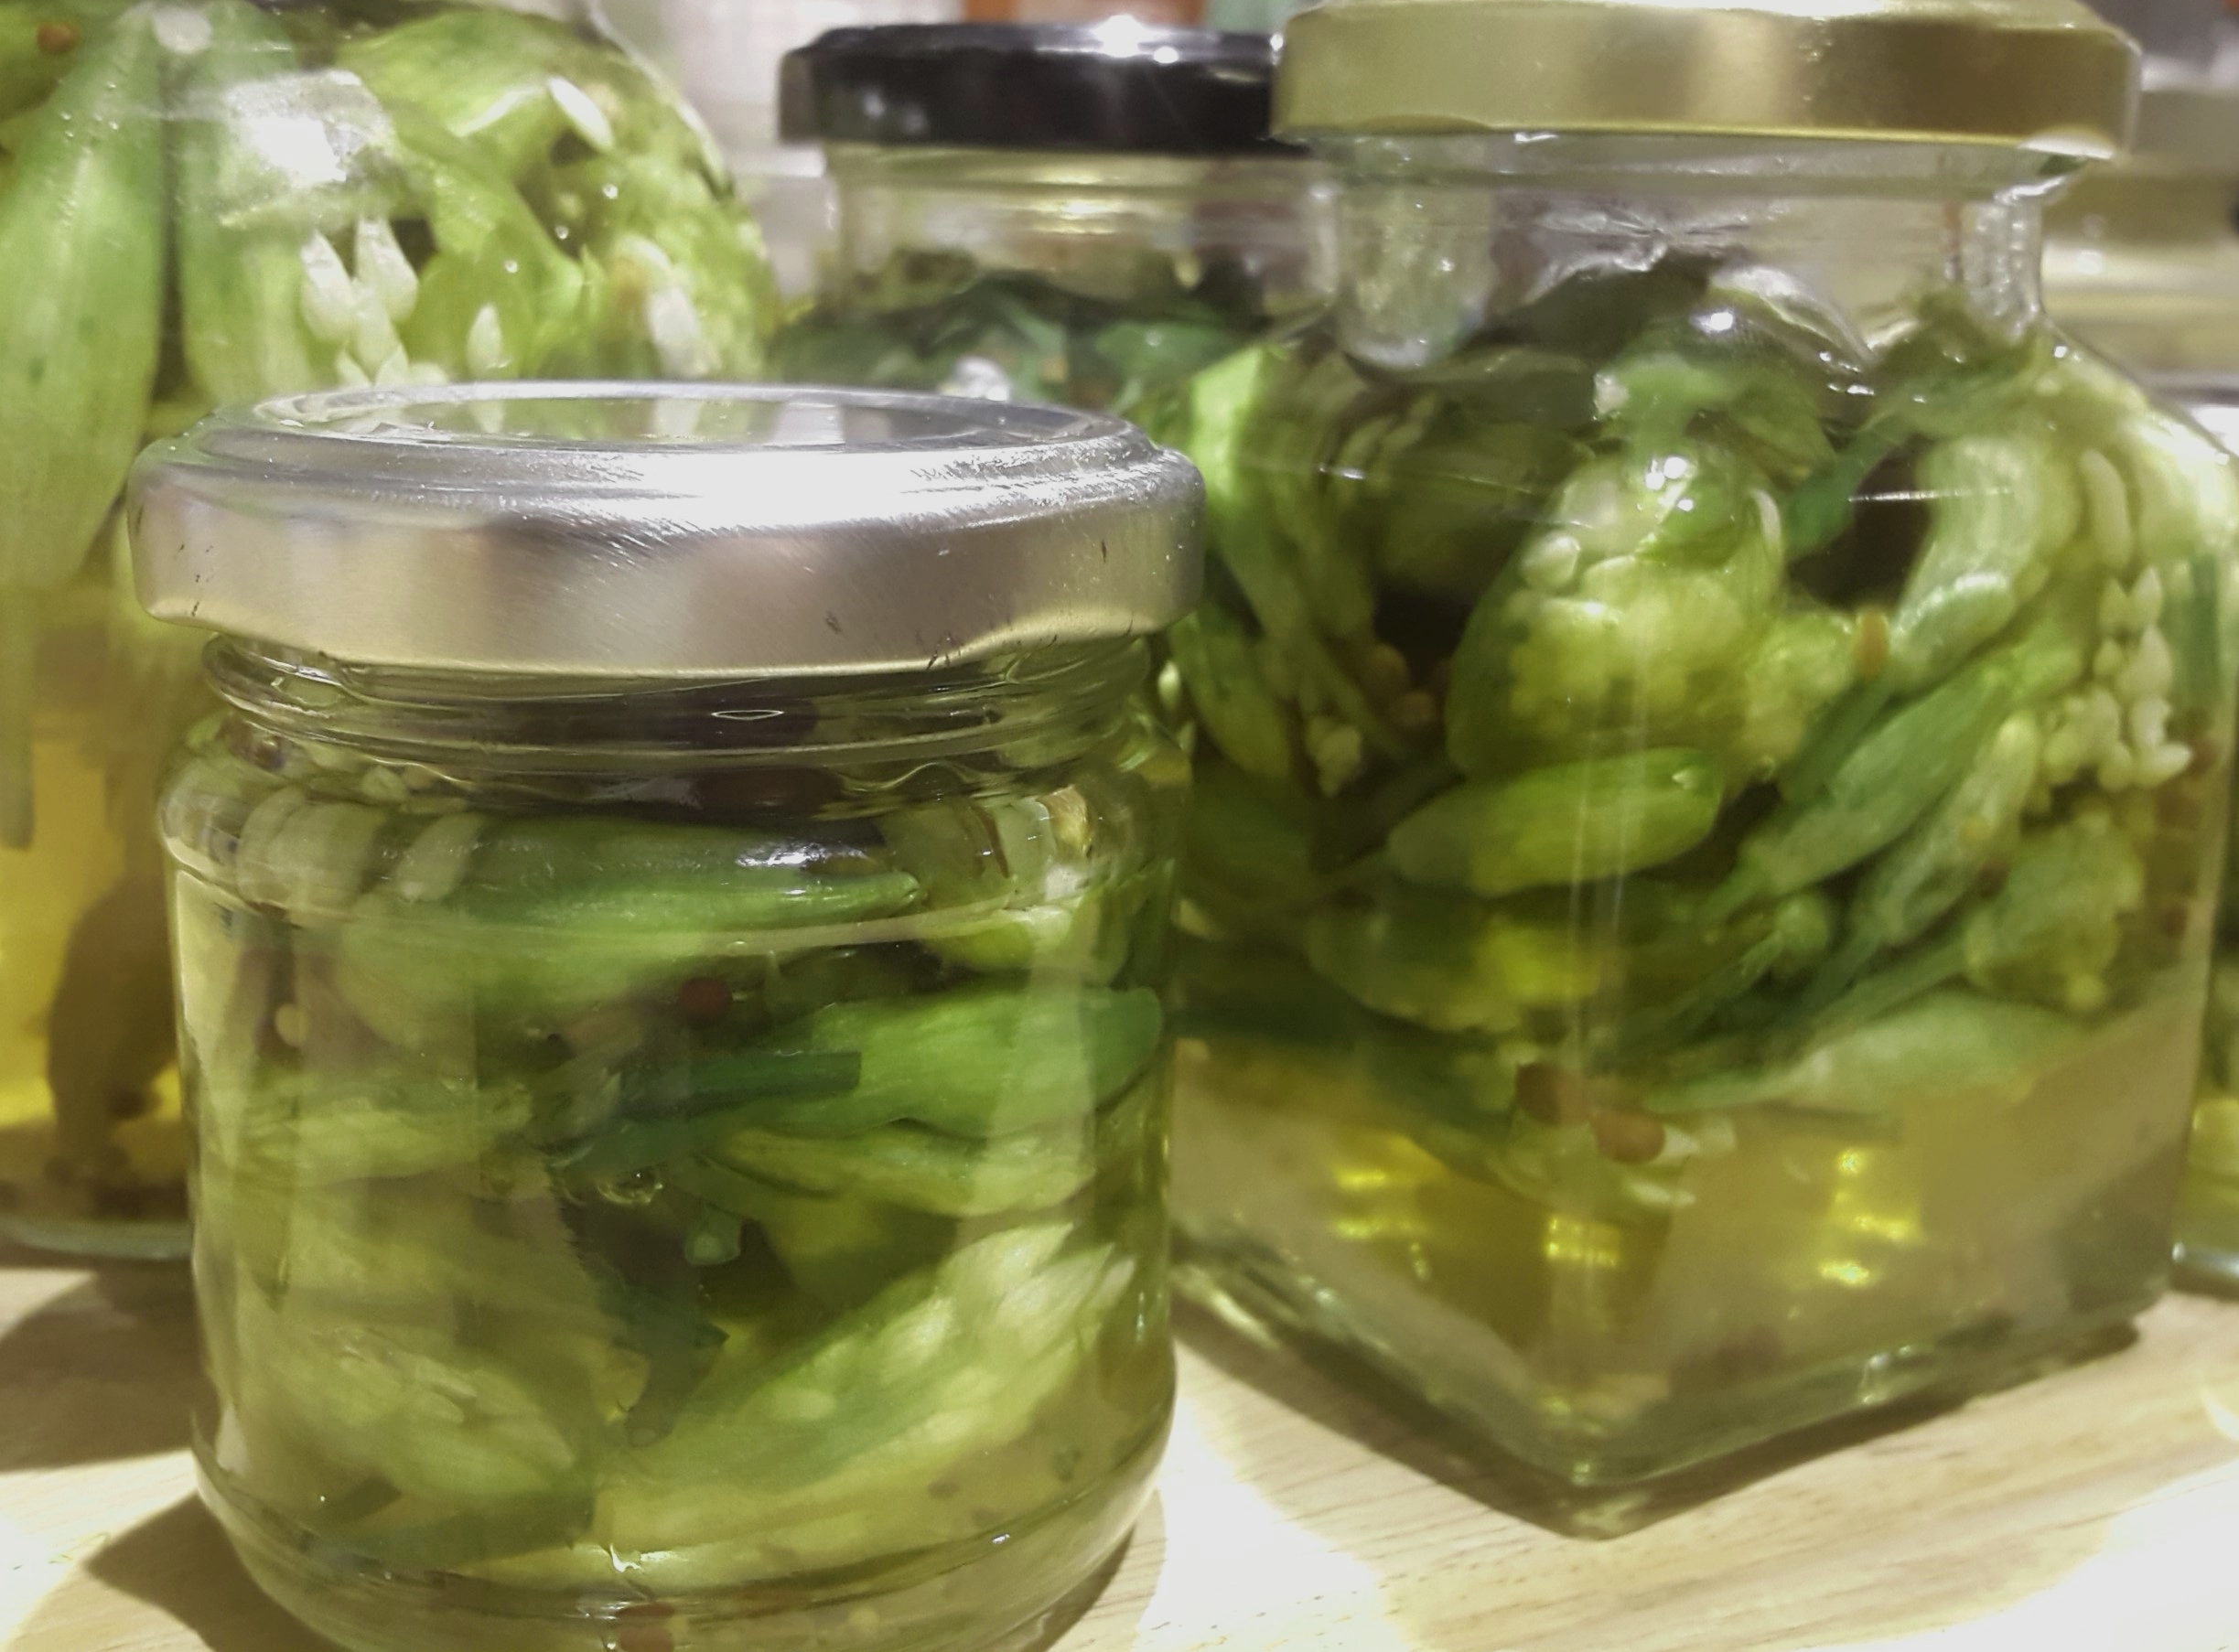
Wild garlic flower buds
Take advantage of the punchy flavour and health benefits of wild garlic (Allium ursinum) flower buds before they flower, by pickling the buds to preserve them.
Around now in April, the long, pointed leaves become topped with a haze of starry, six-petalled white flowers. The blossoms emerge from their pale green, pointed bud parcels (as pictured above), arranged in clusters of 10 to 20 on a three-sided stem which is triangular in cross-section.

Wild garlic flowers
Wild garlic flowers are an early nectar source for butterflies and bees, so take only as much as you need, and take care not to take too many buds or flowers from one spot. Mind your step too as some plants, such as native bluebells, are sensitive to trampling.

Sweet Pickled Wild Garlic Buds recipe
Makes one jar
Enjoy your pickles as a piquant, garlicky garnish, in salads, on canapes, with cheese and crackers, etc.
Ingredients:
- A good handful of fresh wild garlic flower buds, carefully washed
- 200ml (approx.) white wine vinegar (or you could use cider vinegar or pickling vinegar)
- Up to 2 tbsp sugar (or to taste)
- Half tsp salt
- 1-2 tsp pickling spices (you could choose from: fennel, peppercorns, mustard seeds, allspice, chilli, ginger, coriander seeds, cloves, juniper, lemon zest or go wild with hogweed seeds or spruce, fir or larch tips)
- A dried bay leaf or two
Method:
- First sterilise a jar and a vinegar-proof lid to fit your wild garlic buds.
- Pack the buds tightly into your jar – almost to the top as they’ll shrink when the hot liquid is added.
- Heat the vinegar, sugar, salt, spices and bay gently in a pan (enamel is best, avoid aluminium) until the sugar dissolves.
- Then bring to a gently bubbling simmer for a couple of minutes and remove from the heat.
- Pour the hot, spiced pickling vinegar over the buds to cover them and up to about a centimetre from the top of the jar – the buds will float.
- Leave for a minute or two to allow the vinegar to start to penetrate the buds and for the liquid level to settle, then slowly raise and lower a clean chopstick or plastic blade around the inside of the jar to remove air bubbles.
- Top up with vinegar if necessary to about a centimetre from the top of the jar, then seal the jar.
- Leave to mature in a cool, dry place for 2 weeks to a month.
Make sure you carefully identify any foraged plants you’re planning to eat to 100% certainty with a good field guide, or three. If in doubt, leave it out. If you’re still not sure exactly what to look for, come on a foraging course with an expert.
Happy foraging!
