
A lovely light, sparkling summer drink that’s so easy to make and requires no specialist equipment. This recipe makes 10 litres – but if you have a large enough bucket, you can make a larger batch simply by multiplying the quantities.

The fizz in elderflower champagne is generated by active yeasts that will continue to work in the bottle for up to four months. If you don’t drink your champagne as soon as it’s ready, remember that it will keep getting fizzier and you’ll need to ‘burp’ the bottles as time goes on (just open the caps every now and then to release any gas that has built up). In the unlikely event that you find yourself with a half-drunk bottle that’s gone flat, just put it back in the fridge for a couple of days to restore its sparkle.
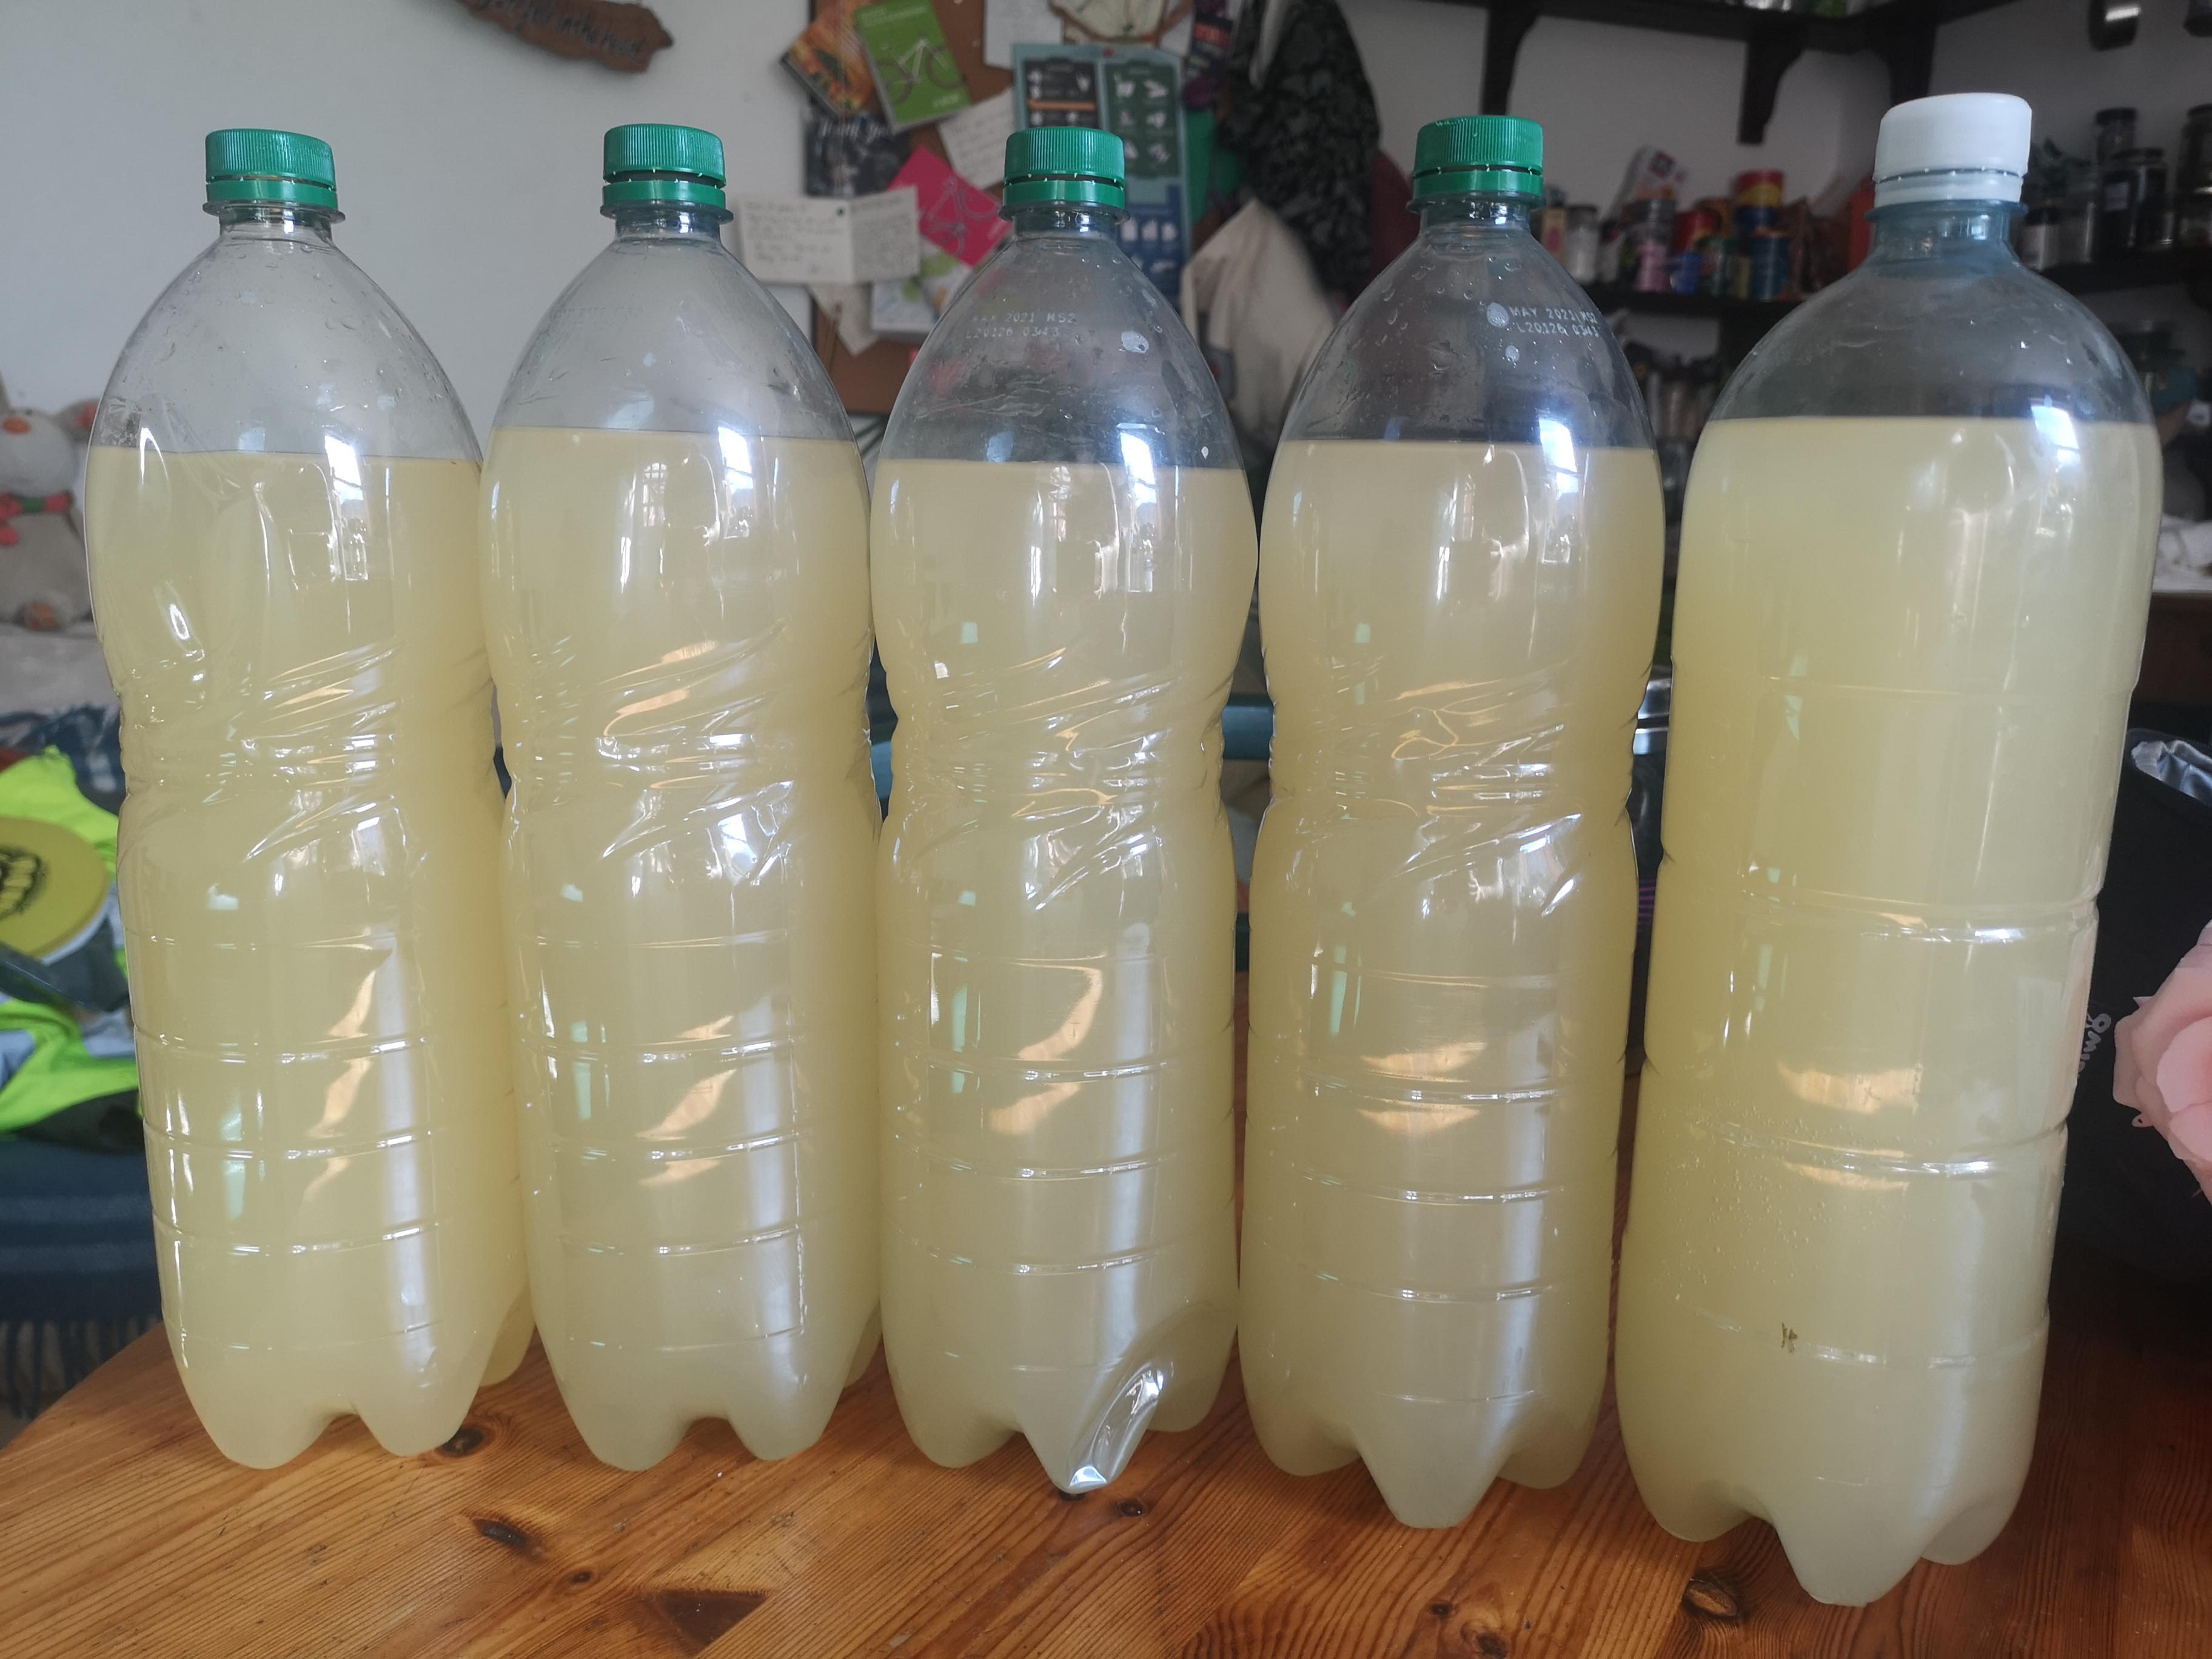
Though plastic bottles are something that we all ought to be avoiding as a rule, we use them here for safety reasons. The cheapest place I have found to get 2L bottles is at Tesco and buy their 2L bottles of Stockwell Spring Water use the water save the bottle only 17p

PROCESS
- 12 large elderflower heads
- 2 kg Granulated Sugar
- 4 medium lemons
- 2 tablespoons white wine vinegar

- Sterilise the bucket,
- Put 10 litres of water into the bucket. Add the sugar and stir vigorously to dissolve (you may need to warm the water a little if the weather is cold – if so, allow the water to cool again before proceeding). Pare or grate the zest from the lemons and squeeze the juice. Add the zest, juice and remains of the lemons to the bucket. Stir in the wine vinegar.
- Pick or snip the flowers from the stalks, handling them as gently as possible to avoid shaking off the aromatic pollen. Add the flowers to the bucket and discard the stalks. Stir the water gently and cover the top of the bucket with a clean tea towel or a large plate – anything that is not airtight will do.
- For the next 3–5 days, stir the contents of the bucket daily, making sure that any sediment of sugar gets dissolved. Quite soon the flowers will become waterlogged and sink, but as the yeast in the mixture becomes active, it will produce gas and the flowers will rise to the surface again. If you listen closely you may also hear the sound of fizzing. You may also see a little mould growing on the top, usually starting around the floating lemon shells. Don’t worry, this is quite normal. Along with the floating flowers and the fizzing sound, this is a signal that it’s time to bottle your champagne.
- In preparation for bottling, sterilise the large jug, sieve, funnel,etc and your plastic bottles. Skim off everything that is floating in the bucket.
- Strain batches of the liquid through the sieve lined with muslin into the jug, then pour the strained liquor through a muslin-lined funnel into the plastic bottles. Leave about 5cm of space at the top of the bottle, and make a small dent in the shoulder of the bottle with your thumb before tightly screwing on the cap. As the champagne starts to get fizzy, the depression will pop out to let you know that the champagne is working. The pop should happen around 3 days after bottling, but might happen sooner if the weather is warm.
- Leave the bottles in a cool dark place, checking them regularly to see if they need ‘burping.’ The champagne should be ready to drink in roughly 2 weeks – you’ll know because the bottles will feel really solid from the build-up of fizz inside. Remember to ‘burp’ the bottles if you keep the champagne for longer – just open the caps every now and then to release some gas.
